The code in the blog post has been updated to work with Nylas API V3.
Mail merge is creating personalized messages through email using ready-made templates. This allows you to target specific customers by providing relevant information. Check our in-depth overview explaining what is mail merge.
In this blog post we will look at how to mail merge in outlook. You can find all the code in this blog on our Nylas Samples repository. We recently discussed how to merge with React templates on our LiveStream Coding with Nylas:
Why mail merge for Outlook
Let’s understand why you use mail merge with Outlook. You can send custom messages from your existing accounts to improve email deliverability using Outlook. Additionally, you can utilize existing information stored on your Outlook account, such as your contact information, to personalize the messages using mail merge.
Capabilities Nylas brings to mail merge with Outlook
With Nylas, you have complete control over how you complete mail merge with Outlook. You can use the Nylas Email API or Nylas SDKs (Python, Ruby, Node, Java) to create email templates in any programming language or templating framework.
With complete flexibility, you can reach your customers in any context using the Nylas Email API. We will look at completing mail merge using JavaScript next.
How to mail merge in Outlook
Let’s build out mail merge functionality using React Templates. Here is an overview of the steps we will build:
Connect an Outlook account
Retrieve relevant User Data to personalize emails
Store user credentials and retrieve contact information
Create React template for mail merge
Use Nylas Email and Contact API to do a mail merge in Outlook
Step 1. Create an Azure application
You first need to create an Azure application to allow users to connect their Outlook accounts. Connected to your Outlook account will allow you to send emails using the Nylas API using your Outlook account. As we will see shortly, you can always connect with other information, such as your Outlook Calendar and Contacts. Learn more about our recent post on How to Create an Azure Application.
Step 2. User data
For our user data, we are going to use our Outlook contacts and add additional information for our use case. Our use case involves sending reminders to book an appointment. So we will add related information that we normally store and collect as our users interact with our application.
Let’s grab our contact information and use the following properties available through the Nylas Contacts API
given_name
surname
email
We will add additional information generated for our use case as follows:
Details about the last completed appointment, such as service and service provider name
Preferred appointment day
Here is an example function that will add more details to the contact information we have available:
// example of function to generate a random service
function randomService() {
 const services = ['Registered Massage Therapy (RMT)', 'Fascial Stretch Therapy (FST)', 'Accupuncture', 'Chiropractor']
 return services[Math.floor(Math.random()*services.length)]
}


const enrichContact = contact => ({
 ...contact,
 last_visit_date: Math.floor(randomDate(new Date(2023, 0, 1), new Date()) / 1000),
 service_completed_recently: randomService(),
 preferred_appointment: randomPreferredAppointmentDay(),
 service_provider: randomServiceProvider(),
})
Step 3. Application backend
The backend application will store the user’s credentials for making requests to the Nylas Email and Contact API.
Here is an example of requesting contacts using the Nylas Contacts API:
To personalize and make our emails more engaging, we will use the react.email library, which we’ve covered in a past livestream: How to Build Email Templates using React.
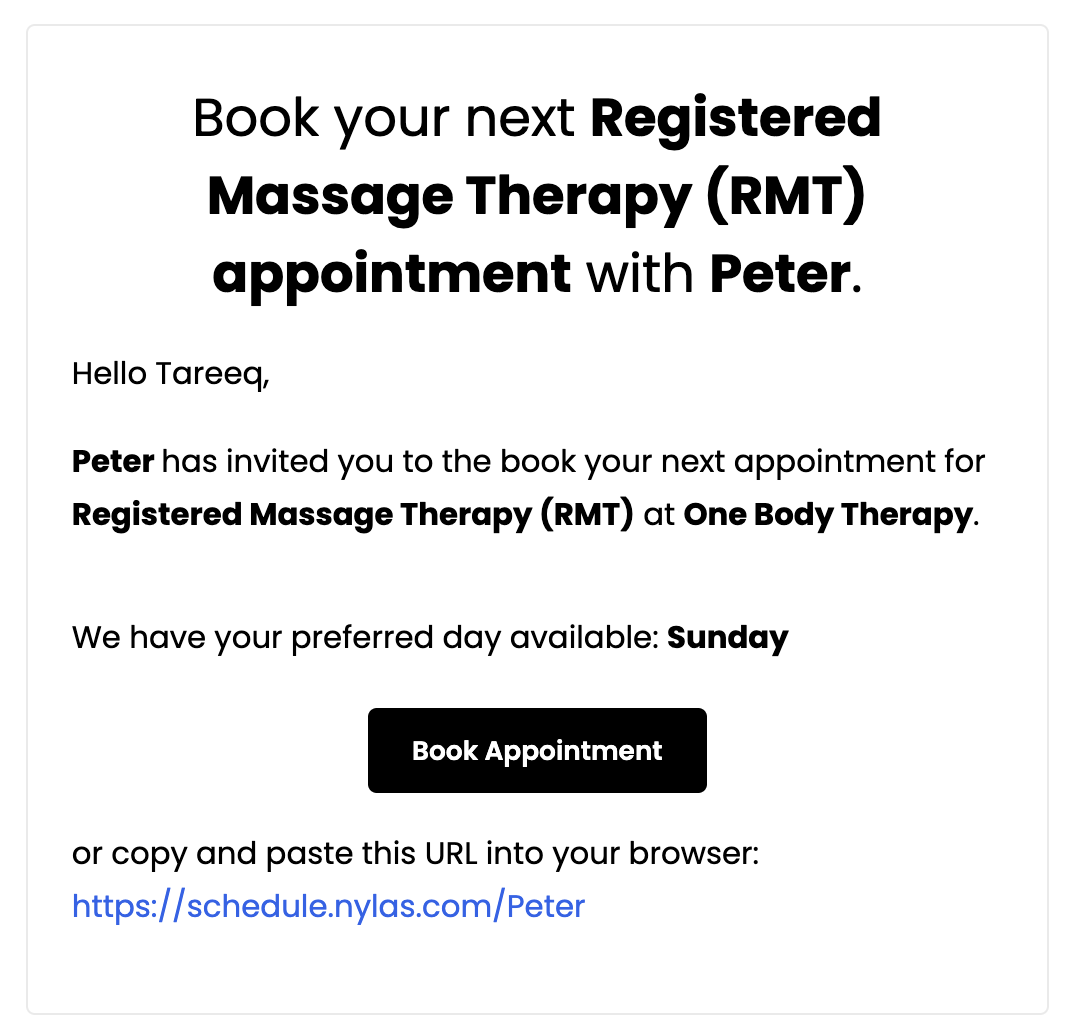
The main benefit of using react.email is that we can use components supported by many email clients. Here is the email template we will be working with to send personalized emails using mail merge to all our contacts:
Here is what the react.email code looks like:
import {
  Body, Button, Container, Head, Heading, Html, Link, Preview, Row, Section, Tailwind, Text,
} from '@react-email/components';
import * as React from 'react';

export const BookAppointmentReminder = ({ username, teamName, inviteLink, service, companyName, preferredDay}) => {
  return (
    <Html>
      <Head />
      <Preview>{previewText}</Preview>
      <Tailwind>
        <Body className="bg-white my-auto mx-auto font-sans">
          <Container className="border border-solid border-[#eaeaea] rounded my-[40px] mb-[8px] p-[20px] w-[465px]">
          <Heading className="text-black text-[24px] font-normal text-center p-0 my-0px mx-0">
            Book your next <strong> {service} appointment</strong> with <strong>{teamName}</strong>.
          </Heading>
          <Text className="text-black text-[14px] leading-[24px]">
            Hello {username},
          </Text>
          <Text className="text-black text-[14px] leading-[24px]">
            <strong>{teamName} </strong>
             has invited you to the book your next appointment for <strong>{service}</strong> at{' '}
            <strong>{companyName}</strong>.
          </Text>
          <Section>
            <Text className="text-black text-[14px] leading-[24px]">We have your preferred day available: <strong>{preferredDay}</strong></Text>
          </Section>
          <Section className="text-center mt-[4px] mb-[4px]">
            <Button
              pX={20}
              pY={12}
              className="bg-[#000000] rounded text-white text-[12px] font-semibold no-underline text-center"
              href={`${inviteLink}${teamName}`}
            >
              Book Appointment
            </Button>
          </Section>
          <Text className="text-black text-[14px] leading-[24px]">
            or copy and paste this URL into your browser:{' '}
            <Link
              href={`${inviteLink}${teamName}`}
              className="text-blue-600 no-underline"
            >
              {`${inviteLink}${teamName}`}
            </Link>
          </Text>
          </Container>
        </Body>
      </Tailwind>
    </Html>
  );
};


export default BookAppointmentReminder;
Step 5. Mail merge in Outlook using the Nylas Contacts API and Email API
Now that we have most of the pieces of the application, let’s summarize the mail merge in Outlook:
Connect an Outlook Account
Retrieve Contacts using Nylas Contact API
Update contacts with relevant information
For our purposes, we are adding past appointment details
Create React email templates to preview using react.email
Complete mail merge by sending personalized emails using Nylas Email API
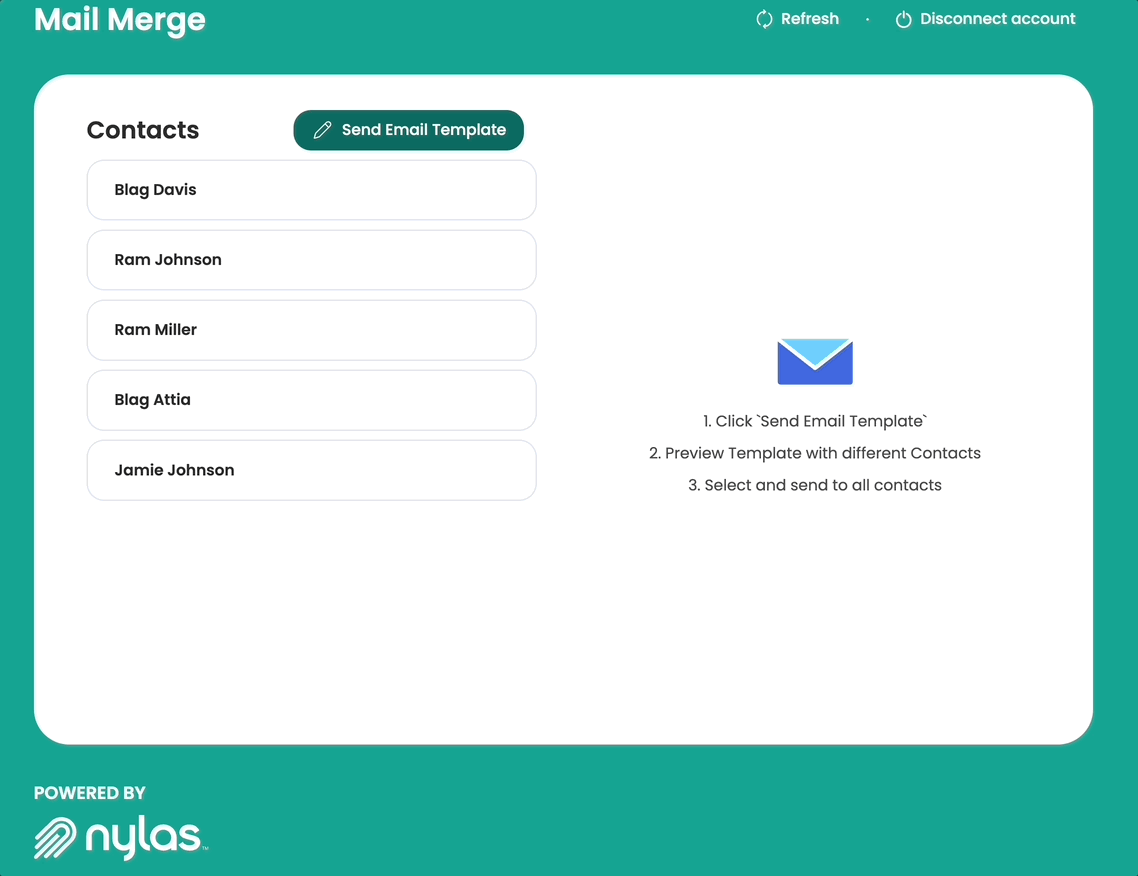
Here is a demo of the working application:
Here is an example of an email received using mail merge in Outlook:
 Email and Contacts API
  Calendar API & Scheduler
  Notetaker API
  Agent Accounts