- Products Products
-
 Email and Contacts API
 Unified bi-directional sync and parsing for any provider.
-
 Calendar API & Scheduler
 Real-time availability and embeddable white-label booking.
-
 Notetaker API
 Capture, transcribe, and extract structured data from meetings.
-
 Agent Accounts
 Deploy, automate, and execute intelligent actions on your behalf.
-
- Solutions
- Developers
- Resources

Jump to section
Introduction
Nylas recently launched our API v3 and we also released updated versions of our Nylas SDKs. We will be using the Nylas Node SDK to create webhooks using Pipedream for testing and inspecting the webhooks themselves.
In this blog post, we’ll delve into how to use and setup Nylas webhooks in API v3 using Pipedream!
Check out our recent livestream covering this blog post:
What’s new in Nylas API v3 Webhooks
To get a full overview of the changes to webhooks in v3, check out our developer docs. Let’s discuss some of the topics that we will go over in the rest of the blog. You can sign up for Nylas for free and start building!
The approach to activate a webhook has not changed from previous versions of the Nylas API. Here are the steps:
- As part of creating a webhook, we will need an active endpoint on our application to receive webhooks calls from Nylas.
- Nylas will confirm the endpoint is active by sending a challenge query to the endpoint, expecting the same challenge query is responded back to Nylas by our application.
To support creating a webhook, we will be using Pipedream to send back the challenge query and activate the webhook. We will go over this shortly.
To verify the webhook was sent by Nylas, the same parameter x-nylas-signature is added to the header, however the initial secret for verifying the webhook is generated per webhook. This is a minor change from previous versions of the API where the x-nylas-signature was set to the Nylas client secret. In API v3, we now offer the ability to modify the x-nylas-signature so the value is dynamic and not static. Check out our developer docs to read more about webhook signature improvements.
In this section, we went over any relevant changes to v3 that will be discussing in the upcoming sections.
Setting up Nylas Webhooks with Pipedream
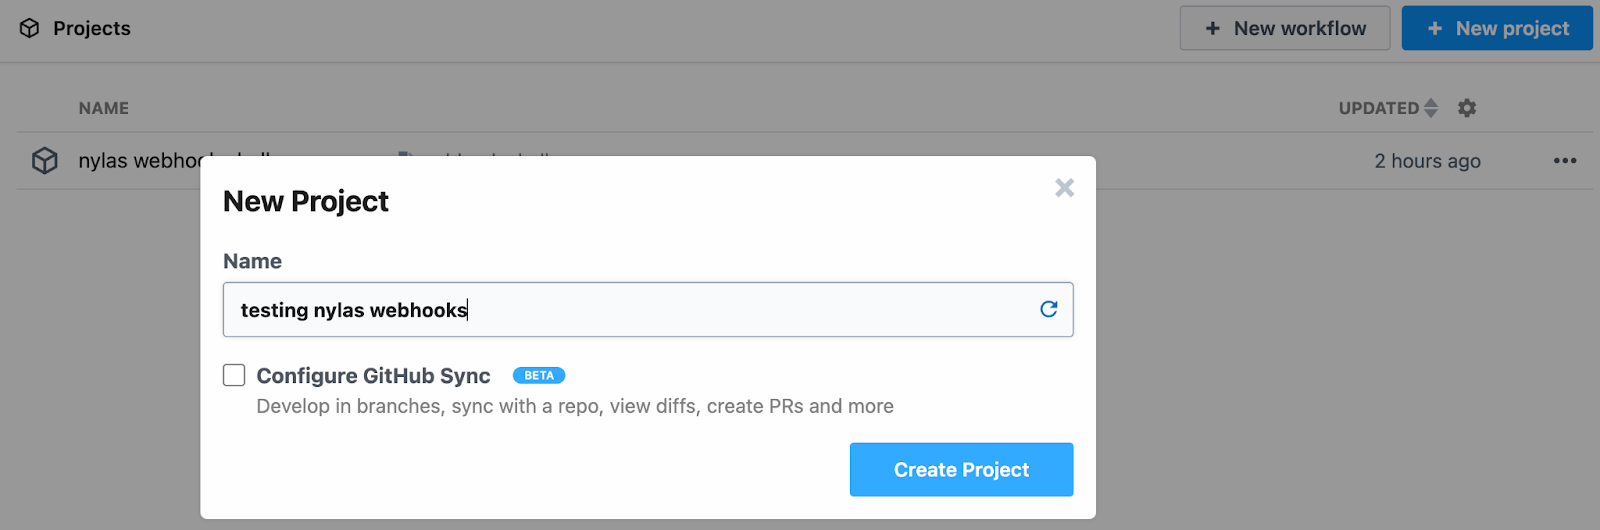
The first thing we will do is use Pipedream to setup an endpoint for registering and receiving webhooks. So create a new project in pipedream and call it testing nylas webhooks:
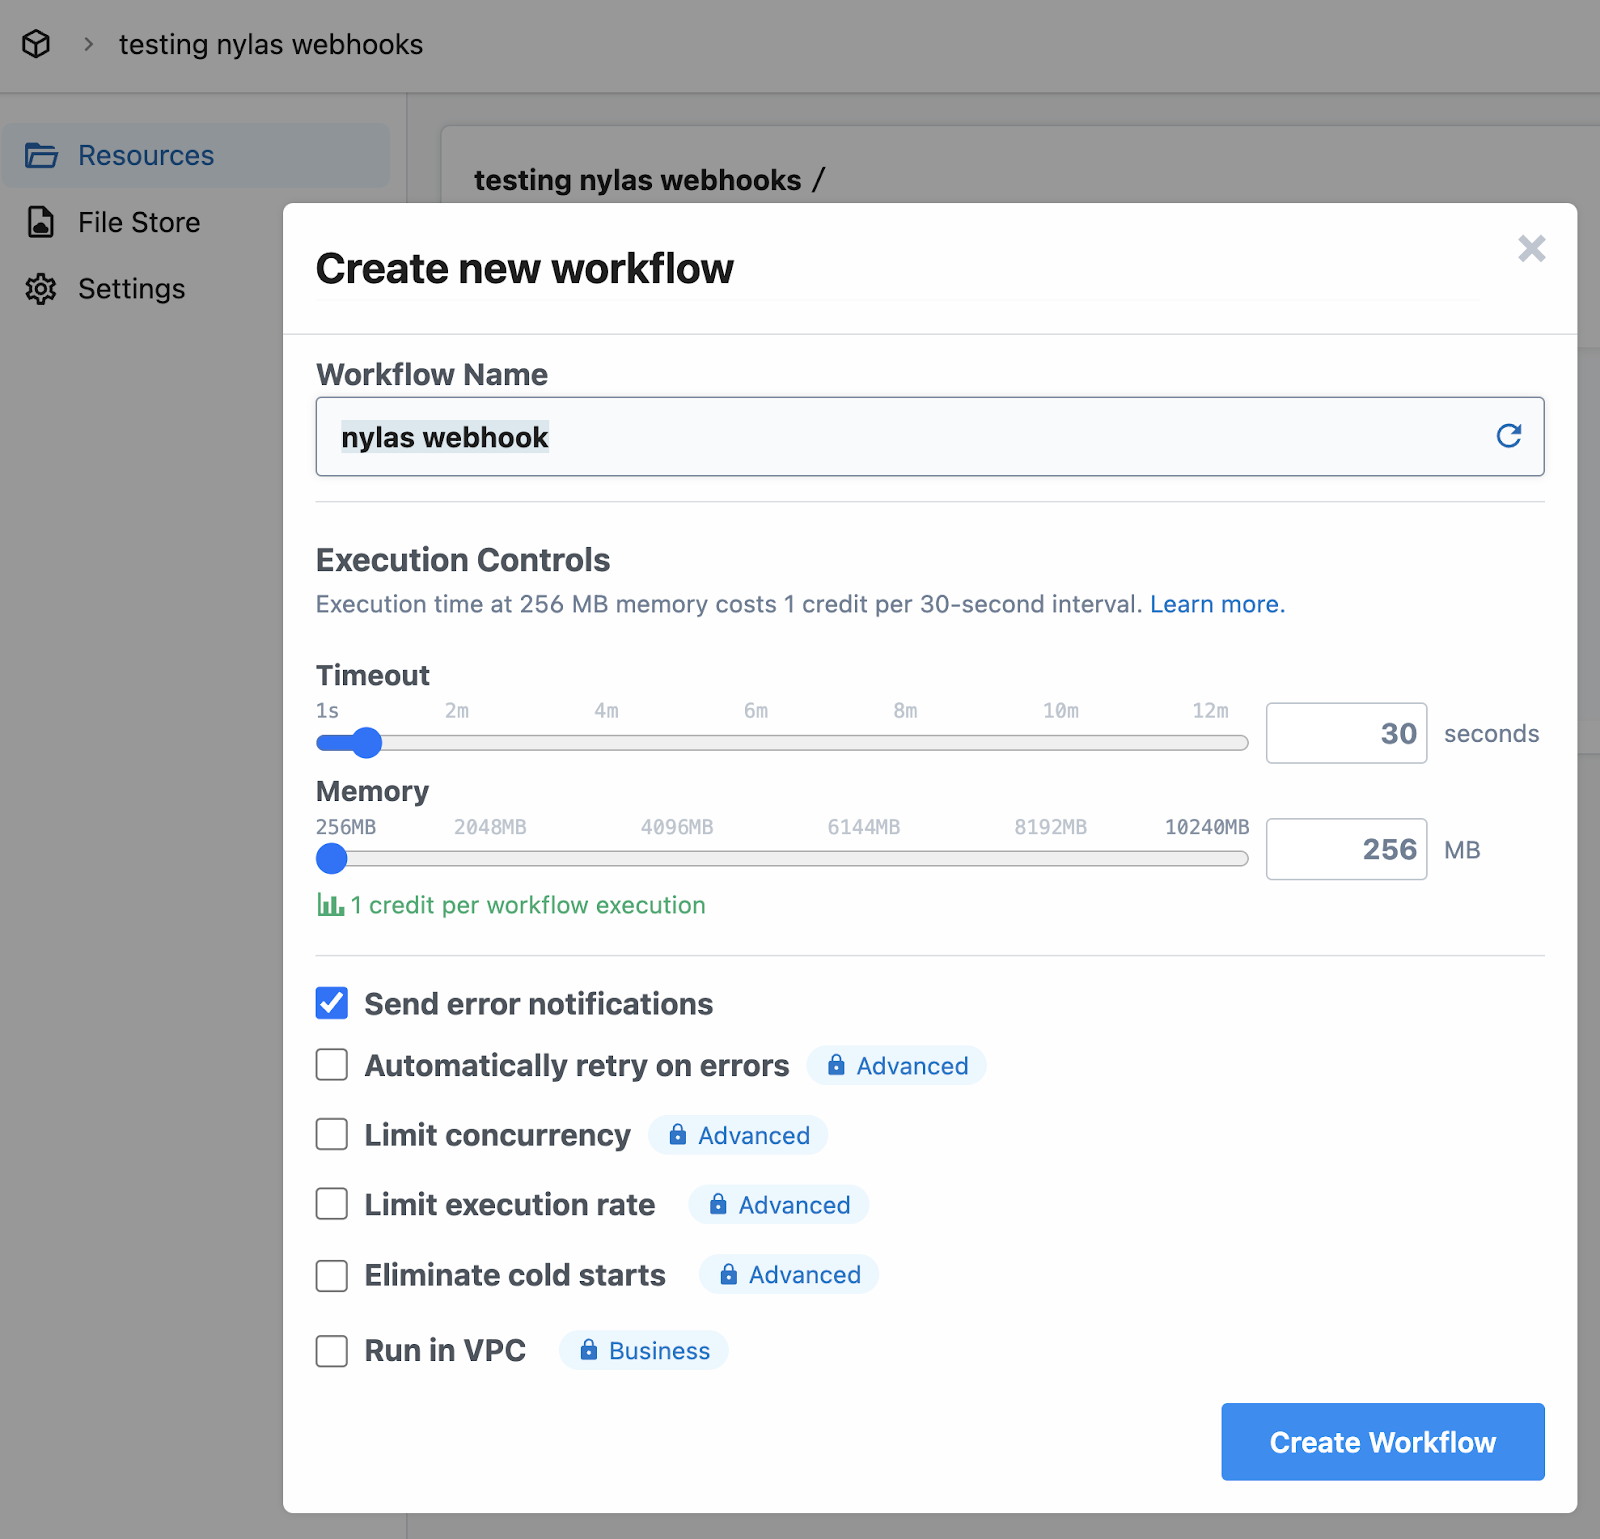
In the new project, let’s create a workflow, which will generate an endpoint for us to try out:
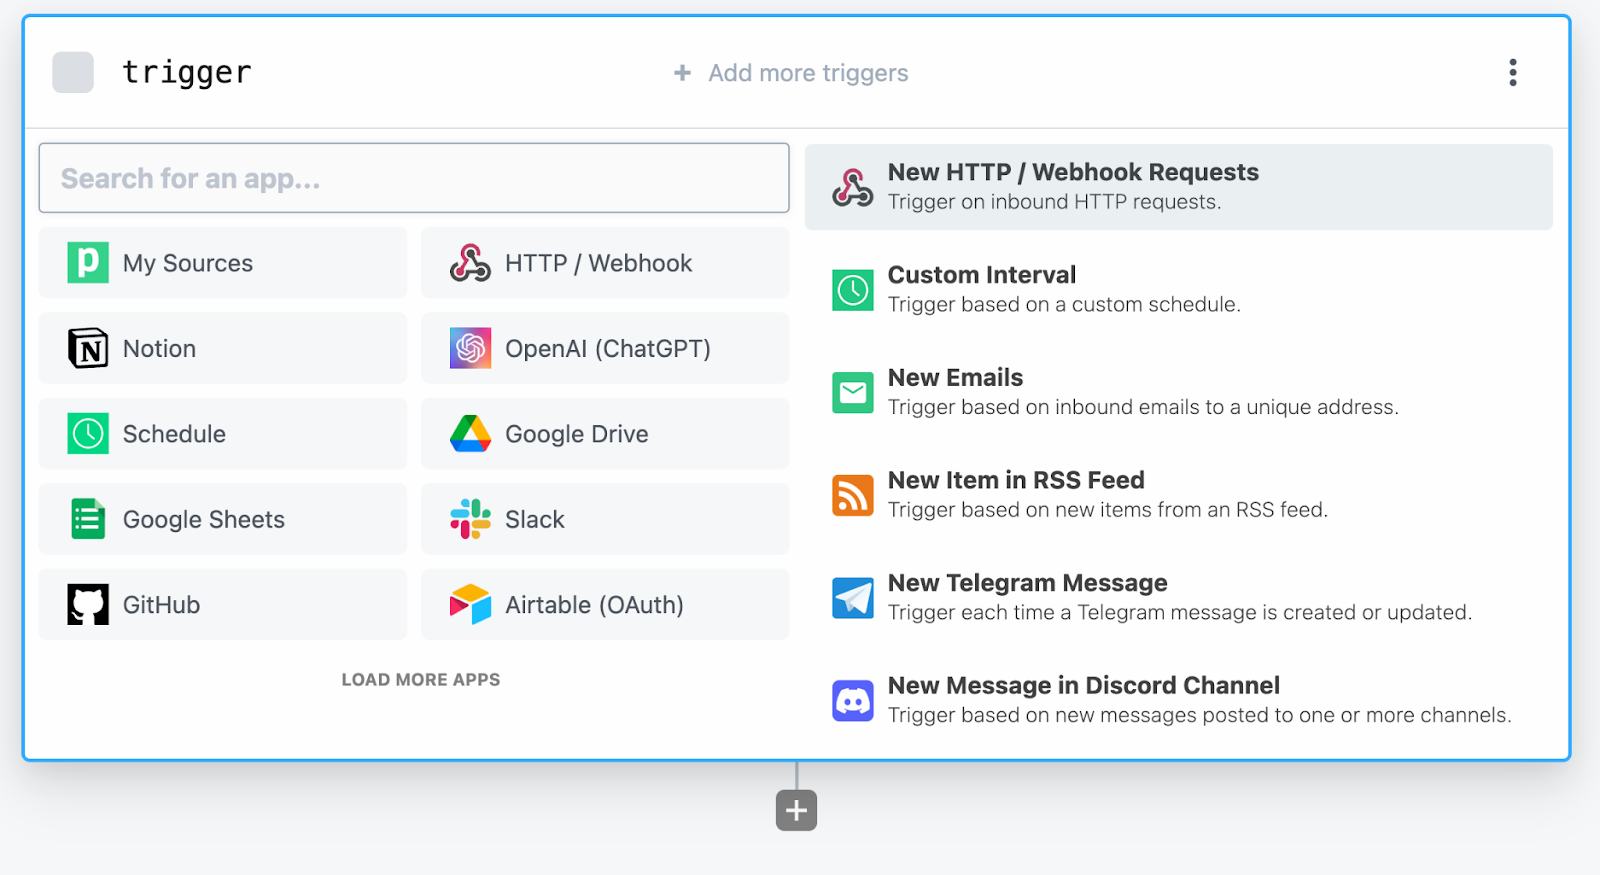
After we enter the workflow config, we are dropped into the workflow editor where we need to select a trigger. Choose the HTTP/Webhook as the trigger:
And for the HTTP Response choose Return a custom response from your workflow:

After select Save and Continue to receive the webhook URL that we can use to register for a Nylas webhook. This value is used as an environment variable, NYLAS_WEBHOOK_URL, in the upcoming sections.
In the next section, we will add the custom response, which will be responding to the Nylas Webhook Challenge.
Configuring your Webhook in Pipedream
Now that we have created the initial webhook URL, let’s configure the response.
So we have an active endpoint, and when Nylas receives a create webhook request from us, it will ensure the endpoint is active by responding with the query challenge. So let’s configure Pipedream to return the query challenge by adding run custom code to the workflow:

In the text editor, we are going to add the following JavaScript:
// This script checks for a challenge query parameter and responds accordingly
export default defineComponent({
  async run({ steps, $ }) {
    if(steps.trigger.event.query?.challenge) {
      await $.respond({
        status: 200,
        body: steps.trigger.event.query?.challenge
      })
    } else {
      await $.respond({
        status: 200
      })
    }
  },
});
What the code is doing is checking if a challenge query parameter exists, and if it does, it will send back a response with the body as the challenge value.
After successfully setting up the webhook, each subsequent call will not contain the query challenge, so we are responding with a status 200 to notify Nylas that the webhook event was received successfully.
Now we have configured Pipedream and are ready to test creating a Nylas webhook.
Testing and verifying Nylas Webhooks with Pipedream
Let’s look at how to create a Nylas webhook using the endpoint, NYLAS_WEBHOOK_URL, that we created on Pipedream in the previous sections.
Separately, we can also setup a webhook, without any code, using the Nylas Dashboard:

To get started with using the Nylas v3 Node SDK, take a look at our getting started guide. Our livestream covers how to get the Typescript code up and running.
Here is a code sample for creating a webhook:
import 'dotenv/config';
import Nylas, { WebhookTriggers } from "nylas"

const NylasConfig = {
  apiKey: process.env.NYLAS_API_KEY as string,
  apiUri: process.env.NYLAS_API_URI as string,
};

const nylas = new Nylas(NylasConfig);

const createWebhook = async () => {
  try {
    const webhook = await nylas.webhooks.create({
      requestBody: {
        triggerTypes: [WebhookTriggers.EventCreated],
        webhookUrl: process.env.NYLAS_WEBHOOK_URL as string,
        description: "My first webhook",
        notificationEmailAddress: process.env.EMAIL as string,
      }
    });

    console.log("Webhook createdd:", webhook);
  } catch (error) {
    console.error("Error creating webhook:", error);
  }
}

createWebhook();
For environment variables the NYLAS_API_KEY can be created on the developer dashboard and NYLAS_API_URI can be found on the developer docs. NYLAS_WEBHOOK_URL will be the pipedream endpoint that we created in the previous section.
Now let’s run the compiled Typescript in the terminal:
node create-webhook.js
Webhook created: {
  requestId: 'requestId',
  data: {
    id: 'webhookId',
    description: 'My first webhook',
    triggerTypes: [ 'event.created' ],
    webhookUrl: 'pipedream_url',
    webhookSecret: 'webhookSecret,
    status: 'active',
    notificationEmailAddresses: null,
    statusUpdatedAt: 1707334858,
    createdAt: 1707334858,
    updatedAt: 1707334858
  }
}
With Pipedream setup to respond to the query challenge sent by Nylas, we are able to successfully create a Nylas webhook. Take note of the webhookSecret value which we will need to use in an upcoming section.
In this code sample, we requested a notification any time a new event is created (webhook trigger: event.created) for a user that has connected their account. Here is a full list of webhook triggers. The general approach we will take next is as follows:
- We need a user grant Id to test out creating an event. Take a look at our documentation on how to create a test grant using the Nylas Developer Dashboard.
- Once we create an event, we can observe the webhook sent to Pipedream.
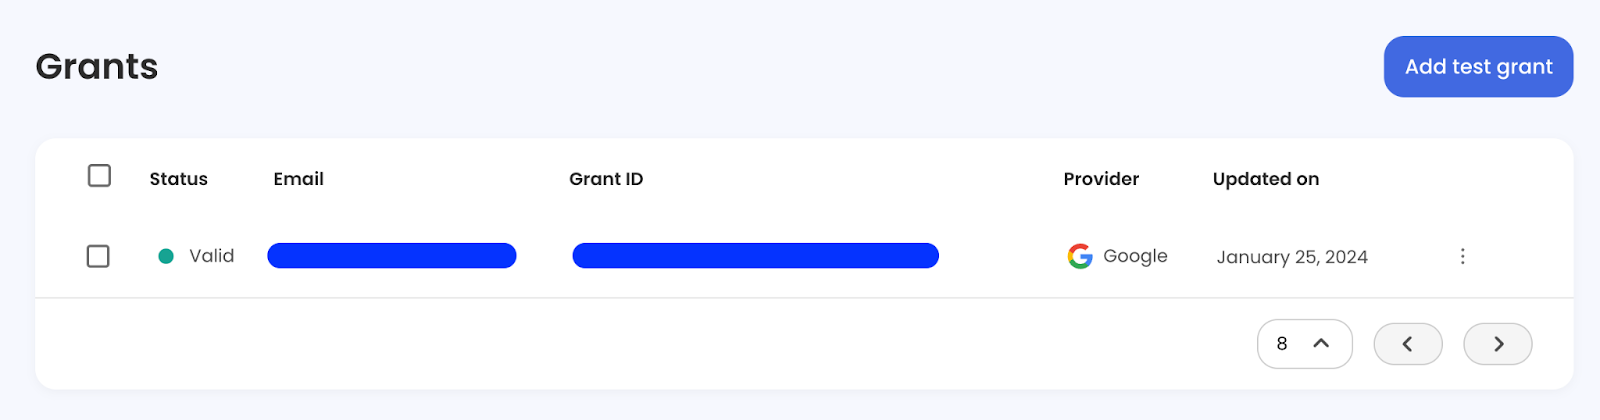
As an example, I have created a grant for my Gmail account:
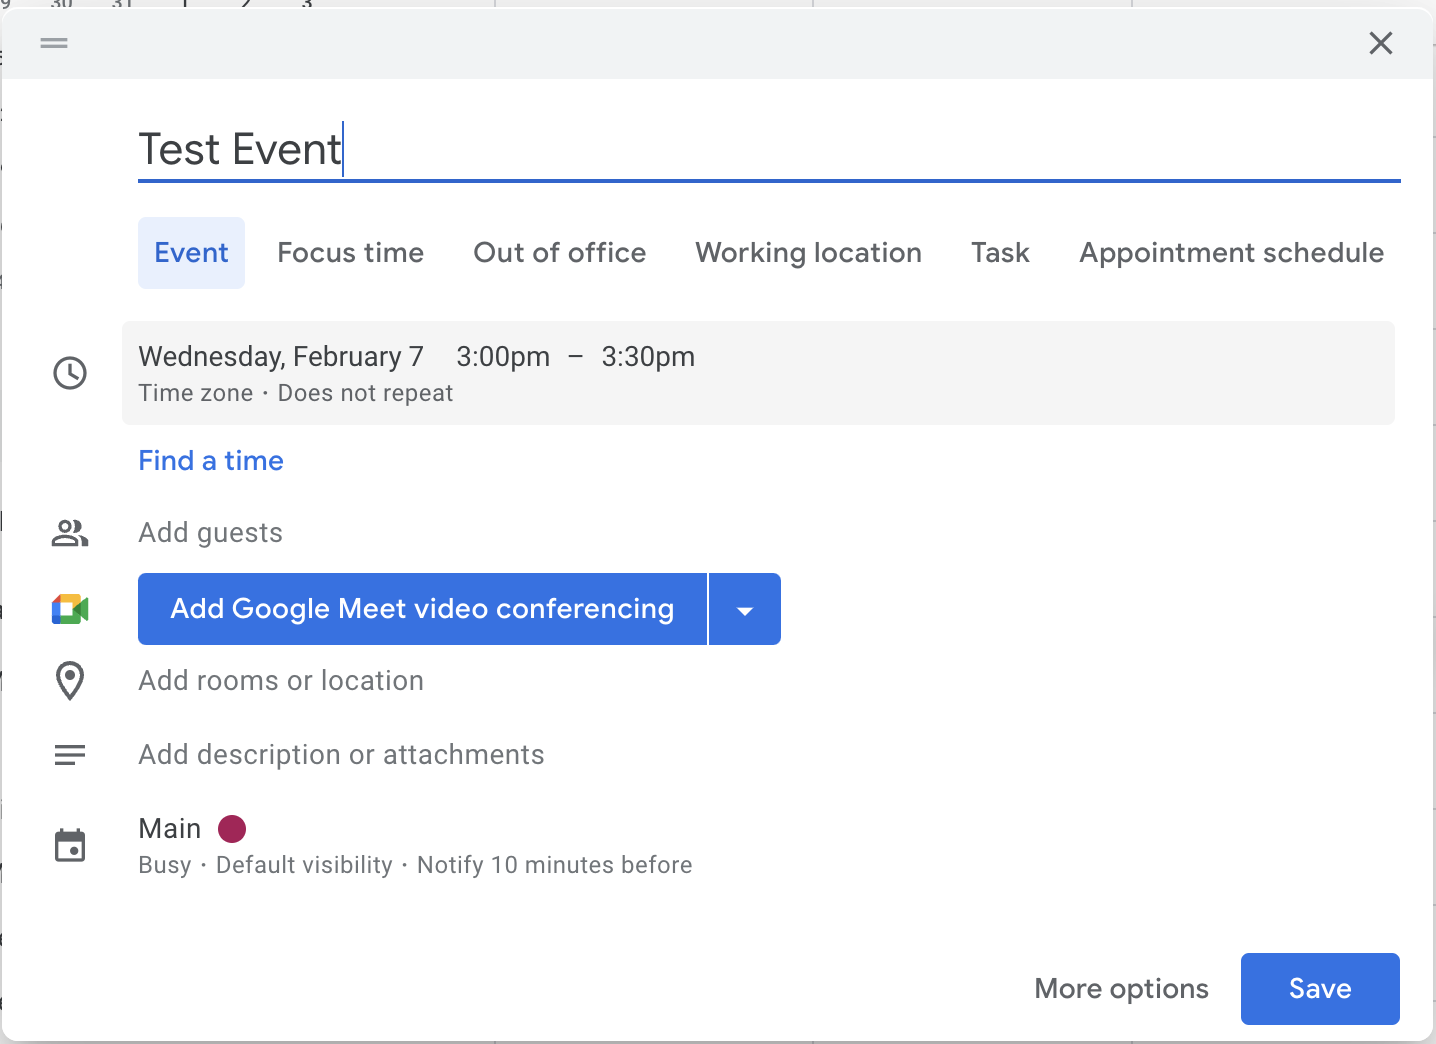
So to try this out we can create an event via Google calendar:
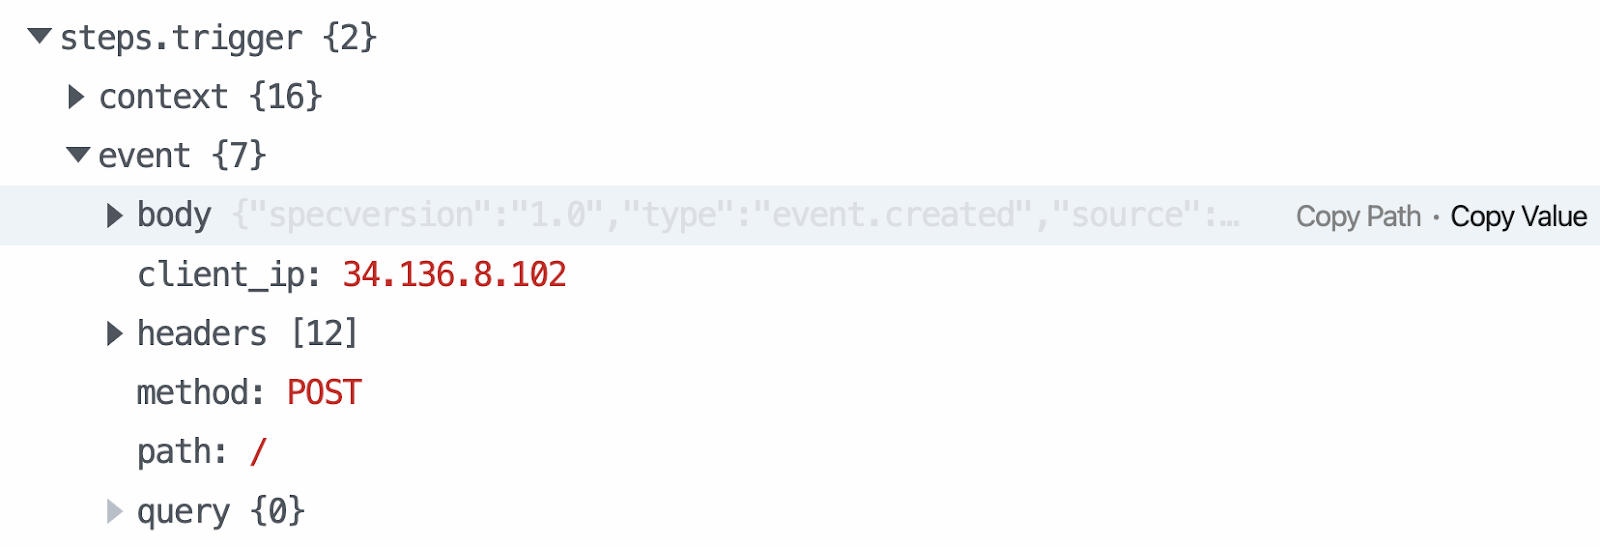
And this will generate a new webhook event in Pipedream:

In this section, we setup a Nylas Webhook to send notifications anytime a connected user’s calendar events are updated.
Securing Nylas Webhooks in API v3
As mentioned previously, securing your webhooks is crucial to prevent unauthorized access and data breaches. Nylas provides a unique webhookSecret for each webhook, which can be modified for enhanced security, ensuring the integrity and authenticity of the data exchanged. The webhook secret is important to ensure the webhook being received is not malformed or sent by a bad actor.
To verify a webhook event, we need to following pieces of information
webhookSecretthat is made available on webhook creationx-nylas-signatureheader value that is sent with each webhook event- The raw body response from the webhook event
Verifying the webhook should be part of the application endpoint (webhookUrl) that receives the webhook event. For the below code, we are verifying the webhook as a script for understanding.
In the below code, we are using the crypto library to verify the webhook signature:
import crypto from 'crypto';

const secret = 'webhookSecret';
const nylasSignature = 'x-nylas-signature'
const rawBody = `rawBody`

const hashAlgorithm = 'sha256'

const digest = crypto
  .createHmac(hashAlgorithm, secret)
  .update(rawBody)
  .digest('hex')

const isValidWebhook = digest === nylasSignature

console.log(isValidWebhook)
The x-nylas-signature can be found on each webhook event in Pipedream. Take the value just below x-nylas-signature using Copy Value from the webhook event:

Take the raw body value using Copy Value from the webhook event:
In this section we looked at how to verify webhook signatures created by the Nylas API v3.
Build time!
In this blog post, we covered how to get started with Nylas Webhooks in API v3 using Pipedream. You can sign up for Nylas for free and start building! Continue building with Nylas by exploring different quickstart guides or by visiting our developer documentation.


